A 10 inch table saw blade is the workhorse of any serious DIY workshop. Whether you’re ripping boards for framing, crosscutting lumber for a bookshelf, or tackling a more specialized job, the right blade makes all the difference between a clean cut and a burn mark that ruins your material. The problem most homeowners face isn’t finding a blade, it’s choosing from hundreds of options without understanding what actually matters. Tooth count, kerf width, hook angle, and material composition aren’t just specs on a box: they directly impact cut quality, safety, and how long your blade lasts. This guide walks you through the essentials of 10 inch table saw blades so you can buy smart and cut confidently.
Table of Contents
ToggleKey Takeaways
- A 10 inch table saw blade’s tooth count—from 24 teeth for ripping to 60+ for crosscutting—directly determines cut quality, speed, and surface finish for your project type.
- Carbide-tipped teeth cost 2–3× more than high-speed steel but last 10× longer and handle hardwoods, treated lumber, and dusty conditions without dulling quickly.
- Always unplug the saw before changing blades, install teeth pointing downward toward the front, and hand-tighten the arbor nut to prevent wobble and ensure safe operation.
- A quality 40-tooth carbide combination blade is the ideal starting point for DIYers with varied projects before investing in specialized ripping or crosscutting blades.
- Store your blade flat in a case, maintain proper arbor cleanliness, and have it professionally sharpened every 4–8 hours of use rather than replacing it to extend lifespan and save cost.
- Wear eye protection, hearing protection, and use a push stick for narrow rips; never reach over the blade or skip the blade guard, as table saws exceed 90 dB and demand respect.
Understanding 10 Inch Table Saw Blade Basics
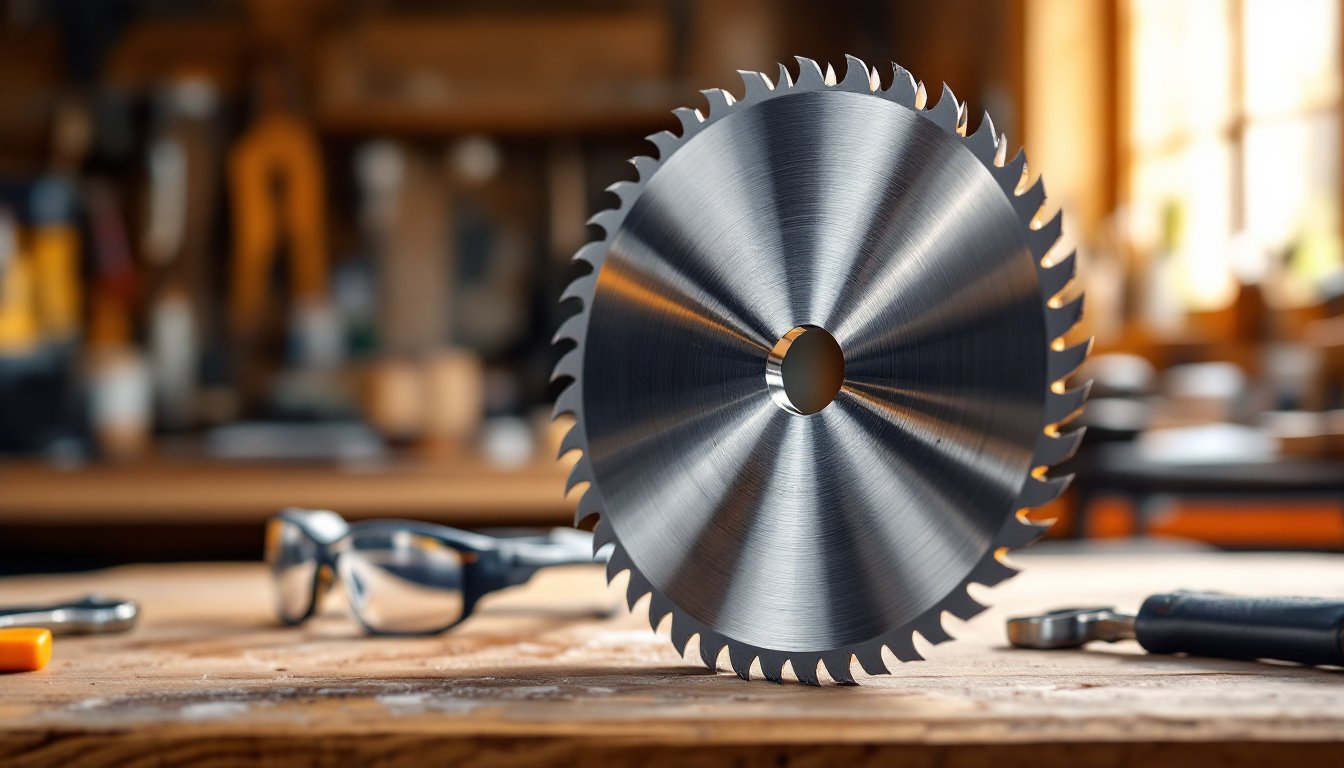
A 10 inch table saw blade is measured by its outer diameter, which refers to the full width of the blade from one side to the other. This is the standard size for most portable and contractor table saws, it’s not the largest, but it’s the most versatile and affordable option for DIY work. The blade mounts on a 5/8″ arbor (the spindle that spins it), which is consistent across almost all stationary saws.
Before you buy, understand a few core measurements. The kerf is the thickness of material the blade removes as it cuts, typically 1/8″ for general-purpose blades. A thinner kerf wastes less material and requires less power, but it can be less stable. Bore diameter must match your saw’s arbor (usually 5/8″), and arbor hole dimensions are standardized, so this rarely causes issues.
Key Specifications and Tooth Count Explained
Tooth count is the single most important choice you’ll make. A 24-tooth blade is aggressive and fast, tearing through rips like a champ but leaving a rougher surface. A 40-tooth combination blade splits the difference, decent at both ripping and crosscutting without excelling at either. A 60-tooth or higher blade produces a glassy-smooth crosscut but moves slower and generates heat that can burn softwoods if you push too hard.
The hook angle (also called rake angle) affects how the tooth grabs wood. Positive angles (10–20°) are standard: they pull the wood forward aggressively, ideal for ripping. Zero or negative angles slow the feed rate, giving you finer control on crosscuts and preventing tear-out on veneered plywood. RPM matters too, most 10 inch blades spin at 3,450 RPM on a standard table saw, but always check your manual. Running the wrong blade speed ruins both the blade and your cut.
Choosing the Right Blade for Your Project Type
The wrong blade for your task wastes time and material. Here’s how to match blade to job:
Ripping, Crosscutting, and Specialty Blades
Ripping blades have 24 to 32 teeth with a large positive hook angle. They cut parallel to the grain and leave a rougher edge (you’ll sand anyway), but they feed smoothly and handle thick hardwoods. If you’re building a deck or rough framing, a ripper saves you effort and time.
Crosscutting blades pack 60 to 100 teeth, move slower, and use a shallow or negative hook to prevent splintering and tear-out. Use these when appearance matters, picture frames, cabinet faces, or any exposed edge. The trade-off is patience: they require steady, even pressure and won’t rush.
Combination blades (40–50 teeth) do both jobs adequately. Most DIYers buy one combination blade and stick with it. That’s a reasonable choice if your projects vary widely, though you’ll never get the dedicated speed of a ripper or the finish of a crosscutter. Resources like Fix This Build That often recommend starting with a quality combination blade before investing in specialized tools.
Specialty blades, like thin-kerf, plywood, and masonry blades, exist for specific materials. A plywood blade (60–80 teeth, thin kerf) minimizes tear-out on veneer faces. A thin-kerf blade works on underpowered saws or when you want minimal waste. Masonry or laminate blades use carbide-tipped teeth that cost more but last forever on abrasive materials. Don’t buy specialty blades until you have a genuine need: they’re not worth the premium otherwise.
Blade Materials and Durability Considerations
Blade teeth determine how long it lasts and what it can handle. High-speed steel (HSS) teeth are cheap and adequate for softwoods and light duty. They dull faster than carbide and can’t handle anything abrasive (treated lumber, MDF, or dirt on the wood). Carbide-tipped teeth cost 2–3× more but last 10× longer, cut cooler, and handle hardwoods, pressure-treated lumber, and dusty conditions without degrading. For a home shop running a few projects per year, carbide pays for itself in convenience and result quality.
The blade body (the disc itself) matters too. A thin steel body flexes slightly, which is fine for fine crosscuts but can cause burn marks on rips. A stiffer body with dampening slots reduces vibration and noise, worth the extra $20 if you use the saw regularly. Laser-cut expansion slots prevent warping from heat buildup on long rips.
For durability, store your blade flat in a case, not hanging on a hook. Moisture and rust wreck carbide teeth, so keep your workshop reasonably dry. A 10 inch table saw blade in regular home use should stay sharp for 4–8 hours of cutting before noticeable dulling. When it does dull, have it professionally sharpened (usually $15–25) rather than replacing it, sharpening a carbide blade costs far less than buying new and extends its life by years. Resources like Popular Mechanics regularly test tool durability, and their findings consistently show that mid-range carbide blades outperform budget options.
Installation, Safety, and Maintenance Tips
Installing a blade wrong ruins your safety margin. Always unplug the saw before changing blades. No exceptions. Remove the arbor nut using the wrench that came with your saw, pull off the old blade and any spacers, and clean the arbor shaft with a dry cloth, dust and rust cause the blade to wobble.
Slide the new blade on, teeth pointing downward and toward the front of the table (the direction the top of the blade moves forward). Install any spacers (if your saw uses them) and hand-tighten the arbor nut. The nut should be snug but not cranked: over-tightening can crack a blade. Rotate the blade by hand a few times to ensure it doesn’t hit the fence or table.
Safety during use is non-negotiable: Wear eye protection (full-face shield or goggles), hearing protection (table saws are 90+ dB), and a dust mask or shop vac connection to manage fine sawdust. Never reach over the blade while it’s running, and always use a push stick for narrow rips, your fingers are not cost-effective. Keep the blade guard in place unless you have a very specific reason to remove it (and most of the time you don’t). A table saw blade guide from Instructables walks through safe setups with detailed photos.
Maintenance extends blade life and safety. After each session, blow out dust from the arbor and teeth with compressed air, sawdust trapped in the gullets (the spaces between teeth) causes binding and uneven cutting. Check blade tension by plucking it gently like a string: a sharp “ping” means it’s properly tensioned. A dull “thunk” suggests the blade needs truing or replacement. Every few months, check that the arbor nut isn’t loose and that the blade spins freely without wobble. A wobbly blade is dangerous and produces burns and tear-out that no tooth count fixes.
Conclusion
Buying the right 10 inch table saw blade isn’t about spending the most money, it’s about matching the tool to your actual work. Start with a quality 40-tooth carbide combination blade if you’re unsure, then invest in a ripper or crosscutter as your projects demand it. Keep it sharp, install it correctly, and never skip safety steps. Your future projects depend on it.