Paint has its place, but if you’re serious about refreshing your walls, there’s a whole world beyond a fresh coat and roller. The walls in your home are prime real estate, they cover more square footage than any furniture piece, yet many homeowners treat them as an afterthought. From textured finishes to gallery displays, wallpaper alternatives, and dimensional installations, wall decor projects can completely redefine a room’s character in ways that straight color alone can’t achieve. Whether you’re a seasoned DIYer or new to home improvement, these unique wall decor ideas offer options for nearly every skill level, budget, and design preference. The best part? Most of these projects are doable without hiring a contractor.
Table of Contents
ToggleKey Takeaways
- Unique wall decor transforms rooms through textured finishes, gallery displays, and dimensional installations—options that go far beyond basic paint and deliver lasting visual impact.
- Wainscoting and shiplap are accessible DIY textured wall treatments that add sophistication and architectural interest without requiring a contractor’s expertise.
- Gallery walls allow you to personalize your space flexibly by arranging frames at eye level (57–60 inches from floor center) and varying frame sizes, styles, and artwork to avoid a sterile appearance.
- Peel-and-stick wallpaper offers renters and homeowners a commitment-free alternative to traditional wallpaper, delivering dramatic pattern while peeling off cleanly without wall damage.
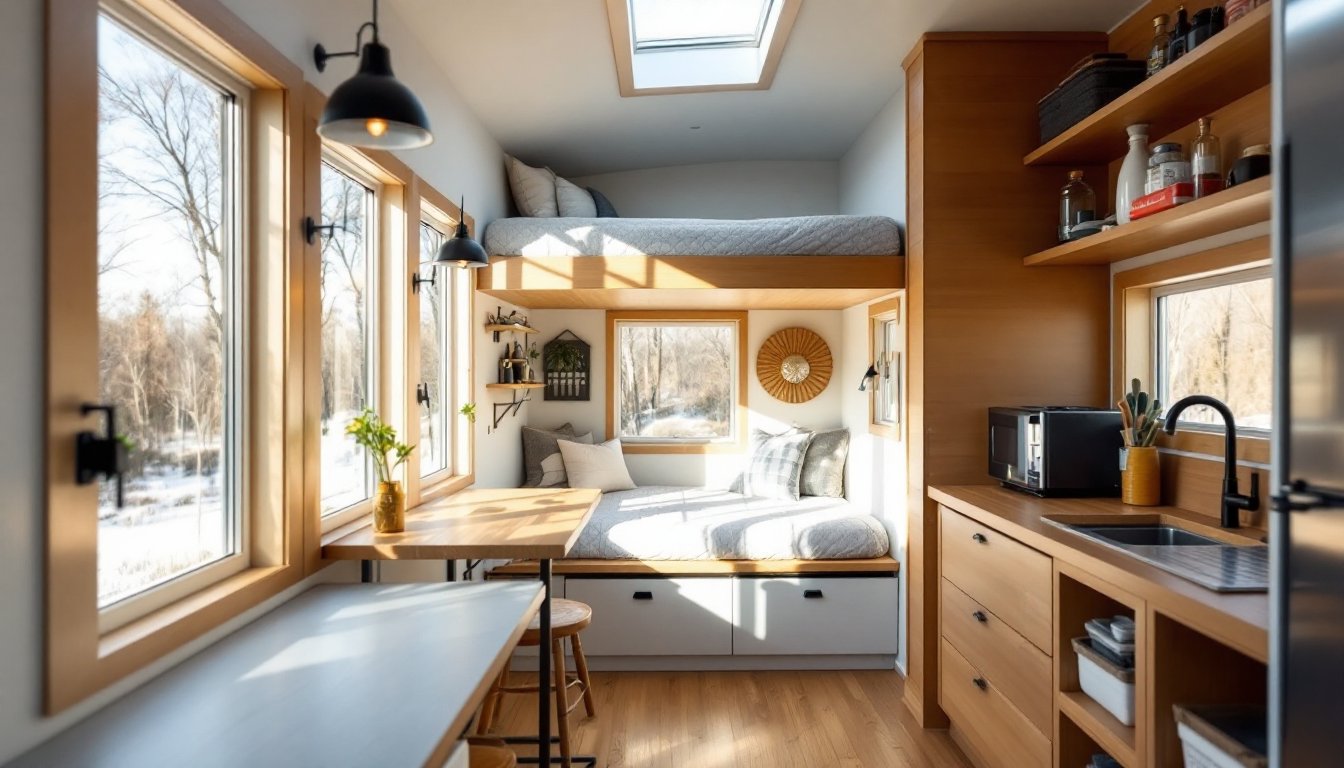
- Three-dimensional wall art, from floating shelves to 3D wall panels and fabric hangings, adds tactile depth and layered aesthetics that flat surfaces cannot achieve.
- Budget-friendly DIY projects like string art, vinyl decals, and hand-painted murals cost under $100 yet deliver impressive personality and customization to any room.
Textured Wall Treatments That Transform Your Space
Wainscoting and Shiplap for Timeless Appeal
Textured walls add visual depth and architectural interest that flat drywall simply can’t deliver. Wainscoting, the practice of paneling the lower third of a wall with wood or composite materials, remains one of the most effective techniques for instant sophistication. Traditional wainscoting uses 7/16-inch beadboard or tongue-and-groove boards installed horizontally, typically 36 to 48 inches from the floor, topped with a chair rail molding.
Shiplap, a cousin of traditional paneling, features boards with interlocking edges that create a modern farmhouse aesthetic. For a DIYer, shiplap is more forgiving than custom wainscoting because installation is straightforward: fasten boards horizontally to wall studs with a pneumatic nail gun or finish nails, staggering joints to avoid alignment patterns. Always locate studs before fastening: use a stud finder to mark them clearly. Safety consideration: wear safety glasses and ear protection when running pneumatic tools.
Prep is crucial. Drywall should be smooth and clean: fill divots with joint compound and sand flush. If installing over existing walls, check for moisture issues first, moisture problems don’t disappear when you cover them. Paint or stain your panels before installation to avoid tedious touch-ups. Budget roughly $3–$8 per linear foot for quality tongue-and-groove boards, depending on material (solid pine, poplar, or composite engineered panels each vary in price and workability).
Brick and stone veneers offer another textured route. Real brick is heavy and requires structural assessment: manufactured stone veneer weighs significantly less and adheres with modified mortar over properly prepared drywall. This approach demands precision, patience, and a second set of hands. If structural load or building permits are questions, consult a contractor first.
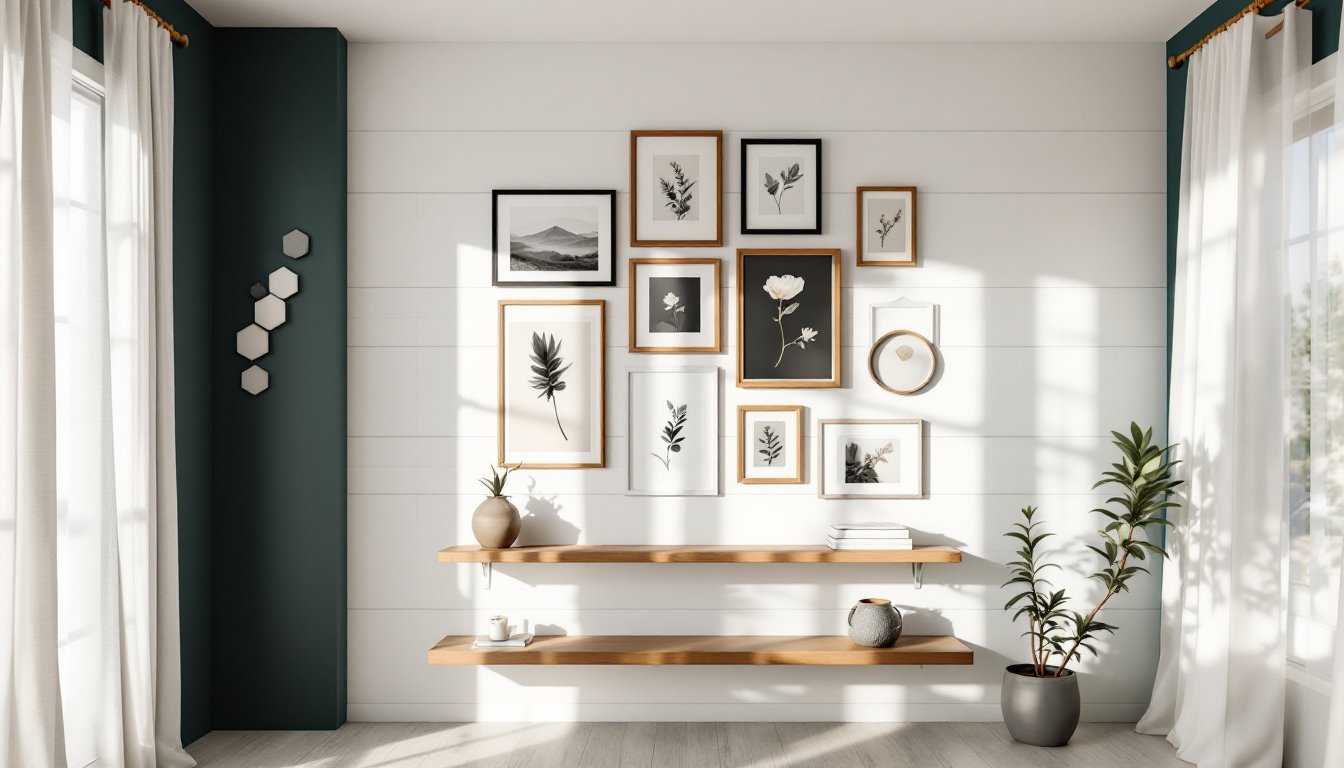
Gallery Walls: Curating a Personalized Display
A gallery wall is a controlled way to display personality without committing to permanent changes. Start with a clear concept: themed (black-and-white photography, vintage botanical prints), color-coordinated, or eclectic mixed media. Gather your frames and artwork, then lay everything flat on the floor in your desired arrangement. Experiment freely, this is your design time, not installation time.
Once you’ve settled on a layout, measure the center point of each piece and mark the corresponding spot on your wall using a level and painter’s tape. For most gallery walls, center the arrangement at eye level (roughly 57–60 inches from the floor to the center). Use the tape to create a grid if you’re nervous: this prevents crooked hangs and speeds up installation.
Choose hardware appropriate to your wall type. For drywall, picture hooks rated for your frame’s weight work well and minimize damage. Plaster walls need special anchors: older lathe-and-plaster construction can be trickier, so test one hole first. Brick and stone require concrete anchors or masonry hooks. Always wear safety glasses when drilling into masonry.
Mixing frame styles, sizes, and mats keeps a gallery wall from looking sterile. Vary between 5×7, 8×10, and 11×14 frames: alternate between matte and glass. Include a mix of photography, illustrations, and personal prints. A cohesive color palette, even if frames differ, ties the display together. Update your gallery seasonally or as your taste evolves: that’s the beauty of this approach.
Wallpaper and Removable Alternatives for Renters
Traditional wallpaper still reigns for dramatic impact, but installation and removal can be hassles. Modern peel-and-stick wallpaper offers a viable alternative for renters and commitment-phobes. Premium self-adhesive papers (like those from reputable manufacturers) adhere firmly yet peel cleanly without damaging paint, a game-changer if you’re leasing.
Surface prep remains non-negotiable. Clean walls with a magic eraser or mild soap solution: let dry completely. Small bumps, dust, or primer residue create air bubbles and adhesion problems. If your wall is already painted with matte finish, lightly sand with 220-grit sandpaper to improve grip. For glossy paint, this step is essential. Measure and mark your starting point with a level and light pencil marks: peel-and-stick is forgiving but not infinitely so.
Apply in one smooth motion from top to bottom, using a smoothing tool or credit card to press out air bubbles as you go. Work in sections if your wallpaper is wide: overlapping strips slightly allows you to trim the seam perfectly straight with a sharp utility knife once both strips are adhered. This overlap-and-trim technique yields invisible seams.
For traditional wallpaper, site-specific guidance matters: hire a professional if you have textured walls, popcorn ceilings, or plaster that’s unstable. Removal of old wallpaper is labor-intensive: budget time accordingly. Rent a wallpaper steamer from a home center to soften adhesive before scraping, it’s worth the $20–$30 daily rental. Always use a putty knife with rounded corners to avoid gouging drywall underneath. Research interior design platforms like Homify for wallpaper inspiration and patterns suited to your space.
Three-Dimensional Wall Art and Installations
Dimensional wall art, think floating shelves displaying objects, sculptural wood panels, or fabric wall hangings, adds tactile interest and layered aesthetics. Floating shelves require careful installation because they’re purely decorative yet must hold weight safely. A 24-inch floating shelf typically supports 25–30 pounds if properly anchored into wall studs with appropriate brackets rated for that load.
Locate studs with a stud finder and mark them clearly. Most floating shelf brackets attach with heavy-duty lag bolts or coach bolts driven into studs: drywall alone cannot support a loaded shelf. Drill pilot holes to prevent splitting wood or stripping fasteners. Use a level to ensure the mounting surface is plumb before tightening bolts fully. Tighten gradually in a crisscross pattern if brackets span multiple bolts, much like tightening car wheel lugs.
Wood paneling, ceramic tiles, or peel-and-stick 3D wall coverings create texture without structural complexity. 3D wall panels made from PVC or foam adhere directly to primed drywall with construction adhesive. These come in geometric, wave, and organic patterns and can be painted to match your color scheme. They’re lighter than real wood or stone and quicker to install, making them perfect for renters unwilling to drill into studs.
Fabric wall hangings, tapestries, macramé, or custom textiles, require minimal hardware. A simple tension rod, picture wire, or adhesive hooks (rated for fabric weight) keeps them secure. Rotate hangings seasonally to prevent sun fading. Explore modern home decor inspiration at Decoist for dimensional wall ideas suited to various design aesthetics.
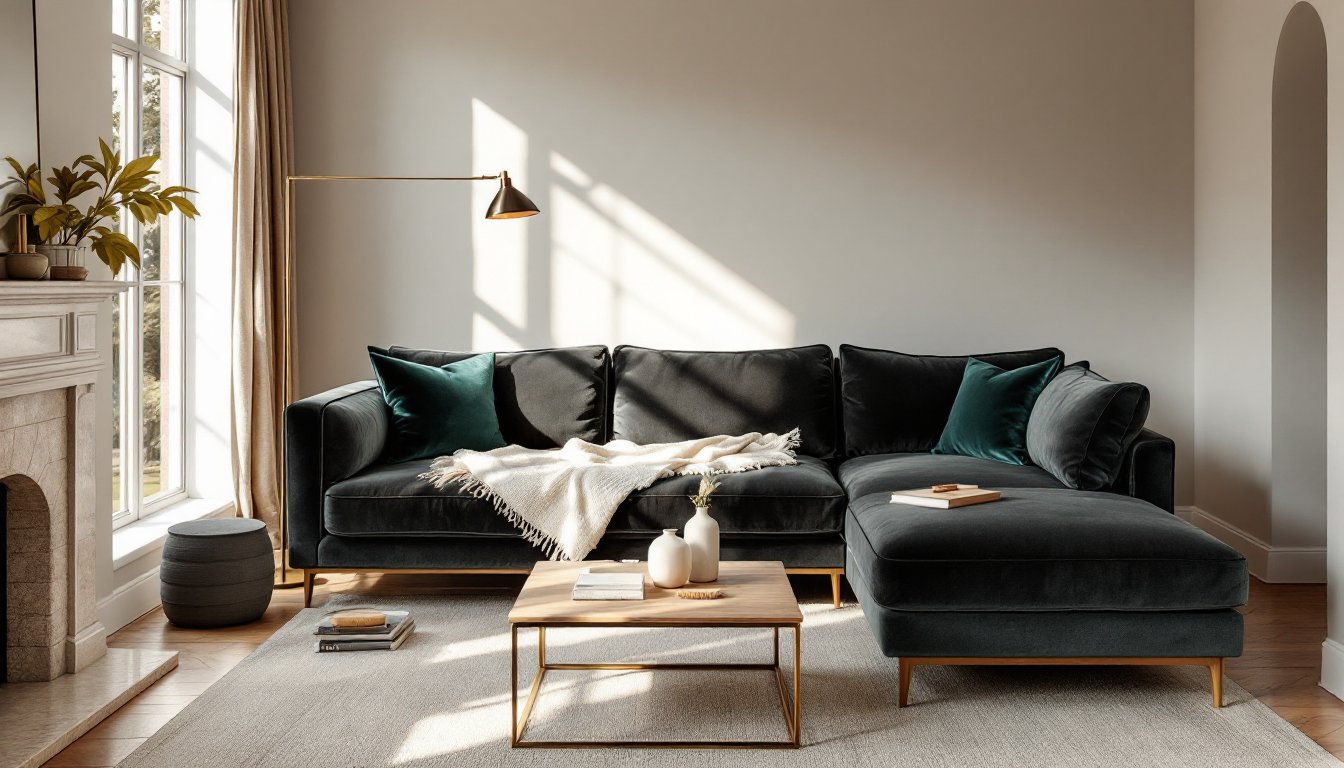
Accent Walls With Pattern and Bold Color
An accent wall, typically the focal wall in a room, draws attention and balances larger spaces. Choosing the right wall matters: prioritize the wall you see first when entering, behind furniture focal points, or a wall with natural light to showcase color depth. Measure ceiling height, wall width, and length to calculate paint coverage: a gallon of quality paint covers roughly 350–400 square feet, so most single walls need one gallon.
Prime all walls before painting, especially if covering dark colors or glossy finishes. Primer improves adhesion, hides stains, and allows topcoat colors to appear true. Two thin coats of paint yield better coverage and texture than one thick coat. Use painter’s tape along the ceiling line, baseboards, and adjacent walls: press the tape firmly to prevent paint bleed. Remove tape while paint is still slightly tacky for the cleanest edge.
Patternwork on an accent wall, stripes, geometric shapes, or stenciled designs, amplifies impact. Horizontal stripes visually widen a room: vertical stripes heighten ceilings. Use painter’s tape to define stripe widths, then paint alternating colors. For precision, measure and mark lightly with pencil every 6 or 12 inches (your chosen stripe width) before taping. Stencils for patterns require stencil adhesive spray to prevent slipping, and a stencil brush or small foam roller for even, controlled paint application.
Bold colors like deep navy, hunter green, or charcoal read differently on large walls than paint chips suggest. Always paint a large test patch (at least 2×2 feet) and observe it in your room’s natural and artificial light at different times of day. Lighting dramatically shifts color perception. Budget-conscious DIYers can explore budget-friendly transformations at Addicted 2 Decorating for cost-effective accent wall techniques and color strategies.
Budget-Friendly DIY Wall Decor Projects
Not every wall transformation requires expensive materials or permits. String art, adhesive stencils, removable decals, and hand-painted murals cost pennies but pack personality. String art starts with a sketch, nails, and colorful yarn or twine. Install a simple wooden frame or plywood backing on the wall, then drive finishing nails around your design outline (using carbon paper to transfer the pattern). Weave yarn or thread across nails in varying densities to create depth and visual interest.
Adhesive vinyl decals and stencils let you add custom designs without paint expertise. Peel-and-stick decals adhere to clean, smooth walls and peel off completely when you’re ready for a change. Reusable wall stencils work with paint or spray paint for pattern flexibility: they cost $10–$20 and open endless design possibilities. Always test on a practice surface first, even with low-risk adhesives.
Hand-painted murals need no experience, start simple with shapes, gradients, or ombré effects using household paint and basic brushes. Sketch lightly with pencil first, then commit with paint. Mistakes blend: perfectionism isn’t required. For geometric designs, painter’s tape ensures crisp lines. Paint over tape before it fully dries: remove while still tacky for sharp edges.
Recycled materials reduce costs further. Vintage window frames, old doors, or barn wood can become instant wall art with minimal intervention, a fresh coat of paint and a mounting bracket. Floating shelves made from reclaimed wood and industrial brackets cost far less than store-bought versions. The key is seeing potential in materials you already own or find cheaply at salvage yards and thrift stores. Creative DIYers rarely spend more than $50–$100 on impressive wall projects using resourcefulness and sweat equity.