Water softeners are workhorses in homes with hard water, removing minerals that clog pipes and wreck appliances. But here’s what many homeowners overlook: where that water actually goes when the softener regenerates. Every water softener needs a drain option, and choosing the right one can save you headaches (and water damage) down the road. This guide walks you through your water softener drain options, what each involves, and how to pick the best fit for your home’s layout and plumbing setup.
Table of Contents
ToggleKey Takeaways
- Water softener drain options must comply with local building codes, which may restrict septic discharge or require specific distances from wells and property lines.
- A standpipe with a proper P-trap is the most common water softener drain solution for basements, providing safe removal of the 25–75 gallons of salty water discharged per regeneration cycle.
- Outdoor water softener drainage requires at least a ¼-inch slope per foot of horizontal run and must be positioned at least 10+ feet from property lines to avoid neighbor disputes and septic system damage.
- Indoor drain options like sump pits and laundry sinks work well if located nearby, but sump pumps must have sufficient capacity (⅓–½ hp minimum) to handle additional water softener discharge.
- Freezing climates demand indoor drain solutions or properly sloped outdoor hoses with winterization, as burying hoses underground is only feasible below the frost line.
- Using corrosion-resistant materials like PVC, ABS, or stainless steel for permanent water softener drain lines prevents long-term damage from salty brine discharge.
Understanding Your Water Softener Drain Requirements
Before you pick a drain solution, understand what you’re actually draining. During the regeneration cycle, typically 20 to 30 minutes, often at night, a water softener flushes salt brine through the resin tank to recharge it. That water needs to go somewhere. Depending on your unit and water hardness, regeneration can discharge anywhere from 25 to 75 gallons of water per cycle, sometimes more. That’s a lot of salty water that won’t go back into your household plumbing.
Your local building code likely has specific rules about where this water can go. Some jurisdictions prohibit discharge directly into septic systems (the salt can harm beneficial bacteria). Others require a minimum distance from wells or property lines. Check with your local health department or building inspector before committing to any option, it’s a quick call that beats an expensive fix later.
Also check your softener’s manual for discharge volume and whether it requires continuous flow or can tolerate a slight backpressure. Most consumer-grade water softeners discharge gravity-fed through a rubber hose: some have a small pump. This affects which drainage solutions work for your situation.
Standpipe or Floor Drain Installation
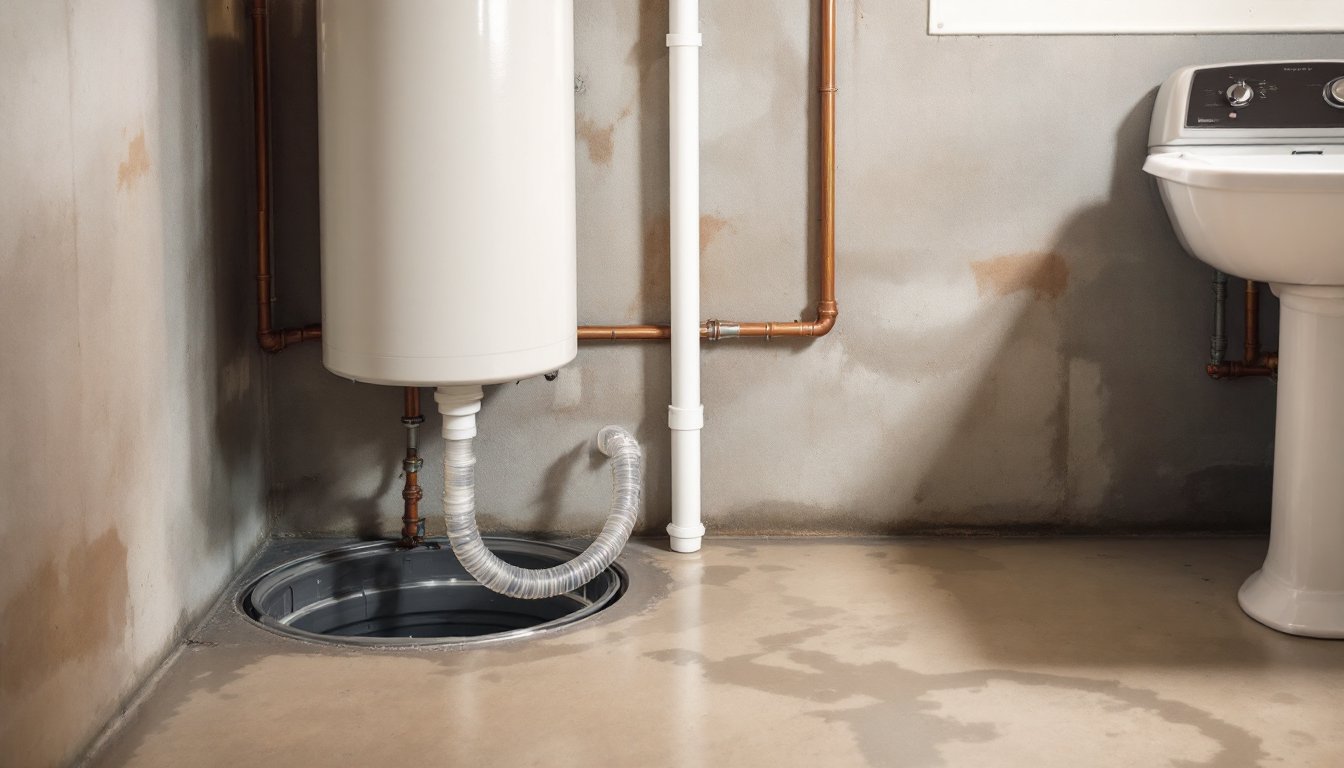
A standpipe is the most common water softener drain solution, especially in basements. It’s simply a vertical drain line, typically a 3-inch or 2-inch PVC or ABS pipe, that sits in or near the floor. The softener’s drain hose connects to the standpipe, and water flows down into your home’s drainage system or sump pit.
Installation basics: If you have a floor drain nearby, you’re in luck. Run the softener drain line into it. No floor drain? You’ll need to either tie into an existing drain line (like a basement sink or laundry tub drain) or install a new standpipe. Installing a new one means cutting into the concrete floor or running PVC up the wall to tie into a drain rough-in, doable for DIYers comfortable with basic plumbing, but messy work. You’ll want a reciprocating saw or concrete saw, a hammer drill for anchoring, and PVC couplings and fittings to make the connection code-compliant.
One key detail: standpipes must have a trap, a U-bend that holds standing water to block sewer gases from backing up into your home. A standard P-trap or floor drain with integral trap prevents smells and keeps your basement from becoming a sewer outlet. Make sure the trap is accessible for cleaning if it clogs. Modern water softener drain line sizing and installation follows specific codes: check your local IRC (International Residential Code) requirements for pitch and diameter.
Sump Pump or Laundry Sink Connection
If you don’t have a dedicated floor drain but have a sump pump pit or laundry sink, those work too. Sump pits handle heavy water discharge regularly, so they’re built for it. Many homeowners run their softener drain directly into the sump basin, the pump then handles moving water out to the yard or storm drain. Just ensure the sump pump capacity handles the additional flow: most consumer sump pumps (⅓ to ½ hp) manage softener discharge fine, but check the pump’s flow rating in gallons per minute.
A laundry sink is another practical option if it’s located reasonably close to your softener. Gravity-feed the softener drain into the sink’s drain line. The upside: simple, visible, and you can monitor water discharge. The downside: during regeneration cycles, water backs up in the sink basin, which limits the sink’s use during those 20 to 30 minutes. Not a dealbreaker, but worth considering if your laundry room sees heavy traffic.
One warning: don’t just dump the softener discharge hose into an open sump pit or sink without a proper connection. Loose hoses can work free, and you’ll have water flooding your basement. Use hose clamps and proper fittings. Also, for detailed guidance on integration with existing plumbing systems, consult HomeAdvisor’s project planning resources or hire a plumber if you’re unsure about backpressure or proper slope.
Outdoor Drainage Solutions
Outdoor drainage is popular in climates without freezing winters and on properties with space. Discharge the softener drain hose out through a basement wall or crawl space to daylight, a window well, driveway, or sloped yard area. Water flows away from the house, and you’ve got no indoor plumbing to tie into.
Key requirements: slope matters. Gravity-fed discharge hoses need at least a ¼-inch drop per foot of horizontal run. Otherwise, water sits in the hose, freezes (in cold climates), or backs up into the softener. Burying the hose underground in freeze zones is risky unless you go below the frost line, which is deep and expensive. Surface running is simpler, hide it along the foundation or run it to a low corner of the property.
Be mindful of your neighbors. Discharging salty water onto a shared property line or into a neighbor’s yard causes friction and may violate local ordinances. Check setback rules (many require 10+ feet from property lines). Also, avoid discharge directly onto a septic system drain field, that salty water degrades the soil’s ability to absorb and treat wastewater. If you’re on septic, confirm with your health department that outdoor discharge to a safe distance is allowed.
In freezing climates, outdoor drainage is less ideal unless you winterize the hose or redirect discharge indoors during cold months. If you go this route, a backflow preventer valve on the hose outlet prevents water from siphoning back into the softener if pressure drops.
Key Considerations for Choosing Your Drain Option
Your home’s layout is the first filter. Do you have a basement, crawl space, or slab foundation? Basements offer the most options (floor drain, standpipe, sump pit, or wall exit). Crawl spaces can work similarly but require access. Slab foundations limit you to running a hose to an exterior wall or tie-in to a nearby drain, less flexible, but doable.
Code compliance is non-negotiable. Some jurisdictions prohibit septic discharge: others require licensed plumber installation for drain work. A quick call to your building department costs nothing and beats a code violation fine. Permits may be required if you’re installing new drain lines or cutting concrete.
Septic vs. municipal sewer changes everything. On septic, outdoor discharge or a separate drain field is often mandated. With municipal sewer, you’ve got more freedom to tie into indoor drains, but still check local rules, some towns restrict water softener brine in the sewer due to salt content and impact on treatment plants.
Freezing climates demand planning. Indoor options (standpipe, sump pit, laundry sink) stay frost-free. Outdoor hoses need slope and winterization or seasonal rerouting. Underground burial only works below the frost line.
Water softener discharge quality matters too. That salty brine can corrode certain pipes and fittings over time. Use corrosion-resistant materials (PVC, ABS, stainless) for any permanent drain lines. Rubber hoses are fine for the softener outlet itself, but don’t run them unprotected into exposed soil or metal gutters.
For a detailed walkthrough of installation specifics, professional water softener installation guides cover drain routing and materials in depth. When in doubt or if the work involves structural changes, hiring a licensed plumber ensures code compliance and peace of mind.
Conclusion
Picking the right water softener drain option means balancing your home’s layout, local code rules, and long-term reliability. A standpipe or floor drain is the easiest path for most basements. Outdoor discharge works if you’ve got slope, freezing isn’t a concern, and code allows it. Sump pits and laundry sinks offer practical fallbacks if they’re nearby. Whatever you choose, think through the details, slope, trap, access, and winterization, before connecting that hose. Get it right, and your softener runs quietly for years. Get it wrong, and you’re looking at basement water, code fines, or system damage.