Swapping out your bathtub for a shower doesn’t have to mean hiring a contractor. A tub to shower conversion kit makes the project accessible to homeowners willing to invest a weekend and some elbow grease. Whether you’re tight on space, looking to modernize a bathroom, or simply prefer showers over baths, these kits bundle the essential plumbing, valve, and enclosure components into one package. This guide walks you through what you’ll need, what to expect, and how to dodge the pitfalls that trap most first-timers.
Table of Contents
ToggleKey Takeaways
- A tub to shower conversion kit bundles plumbing, valve, and enclosure components into one accessible DIY package, eliminating the need for a contractor on a weekend project.
- Showers consume up to 70% less water than baths, significantly reducing water bills and environmental impact while reclaiming bathroom floor space.
- The rough-in valve is critical—verify your kit’s outlet size (standard 1/2-inch nominal) and ensure drain positioning matches your existing hole to avoid costly replumbing.
- Waterproofing membranes like Schluter-KERDI are non-negotiable; skimping here leads to mold and structural rot within months, making quality the best investment in your conversion kit.
- Test for leaks by running water for 20 minutes before closing walls, and always verify local permit requirements, as unpermitted plumbing work can jeopardize home sales and insurance claims.
What Is a Tub to Shower Conversion Kit?
A tub to shower conversion kit bundles the main components you’ll need to replace a bathtub with a shower enclosure. Instead of hunting down a valve trim kit, drain assembly, surround panels, and showerhead separately, these kits arrive with most pieces calibrated to work together.
The kit typically includes:
- A shower trim package (faucet, handles, trim ring)
- Drain assembly or rough-in kit
- Pre-made surround panels or materials for custom tiling
- Showerhead and arm
- Flashing and waterproofing tape
Kits vary in scope. Some are minimal, just the valve and trim, while others are “complete” and cover the pan, walls, and fixtures. Before you buy, check whether the kit fits your existing rough-in (the plumbing hidden behind the walls). Most homes built in the last 30 years use standard rough-in spacing of 8–12 inches from the back wall, but always verify.
Benefits of Converting Your Bathtub to a Shower
A tub-to-shower conversion offers real advantages beyond aesthetics. Showers use significantly less water than baths, up to 70% less per use, which shrinks your water bill and your environmental footprint. If you have mobility concerns, a walk-in or low-threshold shower is safer and more accessible than stepping over a tub rim.
You also reclaim floor space. A shower footprint is typically smaller, making tight bathrooms feel less cramped. Maintenance is easier too: shower enclosures collect less standing water and mold than a tub that sits idle, and cleaning a glass door takes minutes compared to scrubbing a tub.
From a resale perspective, buyers are increasingly drawn to showers, especially in urban or downsized homes. According to tub-to-shower conversion cost guides, modern showers with quality fixtures add perceived value to a bathroom, though the ROI depends on your market and the quality of your install.
Key Components You’ll Need
Understanding what goes into your kit prevents costly mistakes. Let’s break down the two main categories.
Plumbing and Valve Components
The rough-in valve is the heart of your conversion. This is the valve body that sits behind the wall and controls hot, cold, and supply water. Most conversion kits use a pressure-balancing valve or thermostatic valve, both prevent scalding if cold pressure drops (like when someone flushes a toilet).
Check the valve outlet size. Standard is 1/2-inch nominal (the actual diameter is about 5/8 inch, always remember nominal vs. actual lumber and pipe dimensions). Your trim kit must match this outlet size, or adapters will look clunky and may reduce water pressure.
The drain assembly must match your existing drain hole. If your tub drain is centered 14 inches from the back wall, your shower pan or conversion kit drain needs to sit in the same spot, or you’ll be re-routing drains, a job that pushes you into licensed plumber territory in most jurisdictions.
Supply lines come in flexible PEX or rigid copper. PEX is easier for DIYers but check your local code, some jurisdictions restrict it in walls. Solder (if using copper) requires a propane torch and practice: many DIYers opt for SharkBite fittings instead, which press together and hold without soldering.
Enclosure and Structural Elements
Your shower surround options depend on the kit. Pre-made acrylic or fiberglass panels slot together quickly and require minimal mess. Tile kits give you waterproof underlayment and trim pieces but demand more skill and time to install properly.
Flashing and waterproofing membranes keep water out of the walls, non-negotiable. If you skimp here, mold and rot follow within months. Quality kits include Schluter-KERDI or similar membrane: cheaper kits may cut corners.
The pan or base (where you stand) can be pre-formed acrylic or a tile pan built on-site. Pre-formed pans are faster but less customizable: tile pans require a sloped concrete or mortar bed to drain properly. According to expert guides on tub-to-shower conversions, the slope should be 1/4 inch per linear foot toward the drain.
Don’t overlook the threshold or curb. A low or no-threshold design is friendlier for aging-in-place, but it’s harder to install than a standard 4-6 inch curb.
Installation Steps for Homeowners
Before you start, turn off the water and drain the supply lines. Wear safety glasses and gloves: you’ll be handling sharp tile edges and chemicals.
1. Remove the old tub. Disconnect supply lines and drain. Cut the tub rim from the studs (use an oscillating multi-tool or reciprocating saw). Unbolt or pry out the tub, this is heavy, so get a second pair of hands. Dispose of it properly (many recycle centers take metal tubs).
2. Inspect the rough framing. Remove any old adhesive. Check studs for rot (probe with a screwdriver). If the wall framing is soft or spongy, dry it out or reinforce with sister studs before proceeding.
3. Dry-fit the conversion kit components. Lay out the trim ring, valve body, and surround panels. This step saves frustration later. Verify that inlet connections align and that panels fit without forcing.
4. Install the rough-in valve. Secure it to a stud with the included bracket, positioned so the trim ring will sit flush against the tile or wall. If using SharkBite fittings, press the supply lines firmly until they click. If soldering, apply flux, heat evenly, and feed solder into the joint, not directly on the flame.
5. Install the pan or curb. If pre-formed, set it in a bed of thin-set mortar or caulk, sloping slightly toward the drain. If building a tile pan, apply the waterproofing membrane, slope the base correctly, and allow mortar to cure per manufacturer instructions (usually 24 hours).
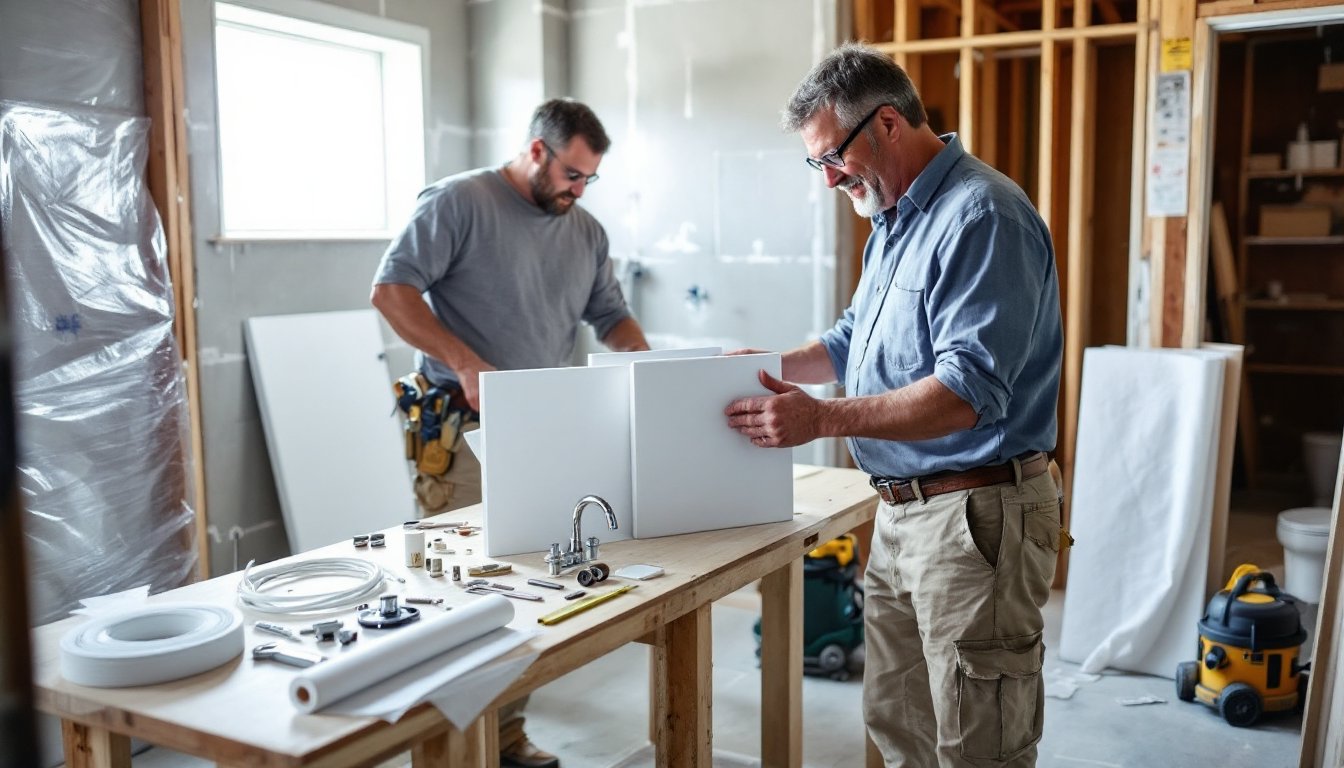
6. Install the surround and enclosure. Secure acrylic or fiberglass panels with the manufacturer’s adhesive and fasteners. If tiling, apply waterproof drywall or cement board, then follow the tile kit’s membrane and layout instructions. This stage takes the most time: don’t rush it.
7. Install the trim and showerhead. Once the walls are set, press the trim ring onto the valve outlet and secure the trim ring with screws. Attach the showerhead arm and head. Seal all penetrations with silicone caulk (not latex, silicone flexes better and lasts longer).
8. Test for leaks. Before finishing drywall or trim, run water for 20 minutes and inspect under the pan for drips. Check all connections. Professional conversion guides recommend this pressure test to catch problems early.
9. Finish walls and caulk. Once confirmed dry, install drywall, prime, paint, or tile as needed. Caulk the joint where the surround meets the floor or curb.
Common Mistakes to Avoid
Most conversion fails stem from a few predictable errors.
Skipping the leak test. Discovering water in the wall weeks later means cutting open walls and replacing framing. Test thoroughly before closing walls.
Wrong rough-in depth. If your valve sits too far forward or back, the trim ring won’t fit flush. Measure twice, position once. Standard rough-in is 12 inches from the face of studs to the valve center: confirm this matches your kit.
Ignoring waterproofing. Cheap kits skimp on membrane. Don’t. A $40 quality waterproof barrier saves you thousands in mold remediation later.
Poor pan slope. Water sitting on a flat pan becomes stagnant. Make sure the slope toward the drain is consistent and at least 1/4 inch per foot.
Mixing valve and trim manufacturers. A rough-in valve from Moen and a trim kit from Delta often don’t play nice. Stick to one brand per kit, or verify compatibility before buying.
Forgetting permits. In many jurisdictions, any plumbing work, especially roughing in a new drain, requires a permit and inspection. Check with your local building department. Unpermitted work can affect home sales and insurance claims.
Overtightening connections. Copper and PEX fittings strip or crack easily. Tighten firmly with a wrench, then stop, an extra quarter-turn can split the fitting.