Termites cost homeowners nearly $5 billion in property damage annually, and many don’t realize they have an infestation until serious structural damage occurs. If you’ve spotted mud tubes, hollow-sounding wood, or tiny discarded wings around your home, termite treatment isn’t optional, it’s urgent. Understanding your treatment options upfront helps you make an well-informed choice that fits your situation, budget, and timeline. Whether you’re dealing with an active infestation or want to prevent one, this guide walks you through the most effective solutions available today.
Table of Contents
ToggleKey Takeaways
- Termites cause nearly $5 billion in annual property damage, making early detection and prompt termite treatment essential to prevent costly structural repairs.
- Chemical barrier treatments remain the most cost-effective and trusted professional solution, creating a protective perimeter around your foundation that lasts 5–8 years for $800–$2,500.
- Bait station systems offer a non-invasive, long-term approach ideal for prevention and light-to-moderate infestations, though they require consistent monitoring every 2–4 months.
- Heat treatment eliminates all termite life stages in a single application and works best for drywood termites or severe infestations, but costs $2,500–$6,000 and requires temporary relocation.
- DIY termite treatment options are limited and ineffective for active colonies; professional inspection ($100–$300) is worth the upfront investment to avoid costly mistakes and recommend the right treatment path.
- Schedule annual or biennial inspections after any termite treatment to catch re-infestation early and protect your home’s structural integrity and resale value long-term.
Understanding Why Termite Treatment Matters for Homeowners
Termites are silent destroyers. Unlike carpenter ants or wood-boring beetles that you might spot, subterranean termites work behind walls and under floors, leaving little visible evidence until damage becomes structural. A single colony can contain millions of workers chewing through wood 24/7, weakening joists, sill plates, and rim board integrity over months or years.
The longer an infestation goes untreated, the more expensive the damage becomes. Early detection and prompt treatment can mean the difference between a few thousand dollars for professional elimination and tens of thousands in structural repairs. Treatment also protects your home’s resale value, most buyers require a termite inspection, and disclosed infestations or previous damage can tank a sale or force costly repairs as a closing contingency.
There’s no one-size-fits-all solution. The right approach depends on your home’s construction type (slab-on-grade, crawl space, or basement), the termite species (subterranean vs. drywood), the extent of infestation, and your tolerance for disruption during treatment.
Chemical Barrier Treatments: The Most Common Professional Solution
Chemical barrier treatments form a protective perimeter around your home’s foundation, killing termites on contact and preventing colony entry. This is the most widely used and trusted method by professional pest control operators, and for good reason, it’s effective, proven, and relatively affordable.
The treatment typically involves injecting or applying liquid termiticide (products like Termidor or Premise) into the soil around the foundation, creating a continuous chemical barrier. For homes on slab-on-grade foundations, applicators drill small holes through the slab’s perimeter and inject the barrier beneath it. Crawl space homes get treatment along the foundation walls and any exposed wood. The chemical either repels termites (repellent type) or disrupts their nervous system on contact (non-repellent type).
Non-repellent products like fipronil are particularly effective because termites don’t avoid them, they pass the chemical through the colony, creating a cascading elimination effect. Most chemical barriers remain effective for 5–8 years, though this varies by product, soil type, and local conditions. Cost typically ranges from $800–$2,500 for initial treatment, depending on your home’s size and foundation type, though regional pricing varies significantly.
The downside: application requires drilling into concrete or trenching soil, which means disruption. Some homeowners find the chemical odor strong immediately after application (it typically fades within days). You’ll also need annual or biennial inspections and possible retreatment to maintain coverage. Always verify that your pest control company is licensed and that they use termite treatment options approved by your state’s environmental agency.
Bait Station Systems: Long-Term Control and Prevention
Bait stations represent a shift toward slower, more targeted termite management. Instead of a perimeter barrier, bait stations use the termites’ own feeding behavior against them, termite workers take poisoned bait back to the colony, where it spreads and eventually collapses the nest from within.
Stations are installed in the ground at regular intervals (typically 10–15 feet apart) around your home’s perimeter, or placed indoors along termite trails if activity is detected inside. Products like Sentricon and Advance use slow-acting active ingredients (hexaflumuron, imidacloprid) that allow multiple feeding cycles before the termites die, maximizing transfer to the colony. This lag time, often 1–3 months, can feel slow if you’re anxious, but it’s what makes the system so lethal to the entire colony.
Bait stations excel at prevention and long-term management. Once a station is installed, it requires monitoring every 2–4 months: technicians check for termite activity and replace bait as needed. Many homeowners appreciate the non-invasive approach, no drilling, no trenching, minimal chemical odor. Costs typically run $1,500–$3,000 for installation plus $200–$500 annually for monitoring, making it more expensive upfront but potentially cheaper over a 10-year lifespan compared to repeated barrier treatments.
The trade-off: bait stations work best as a preventive measure on uninfested homes or for light-to-moderate active infestations. Severe infestations may require complementary barrier treatments for faster knockdown. Stations also demand consistent monitoring, neglect the schedule, and you lose effectiveness.
Heat Treatments: When You Need a Comprehensive Approach
Heat treatment (fumigation using heat instead of gas) is the nuclear option, it kills termites at all life stages (eggs, nymphs, adults) in one application. Technicians seal your home and raise internal temperatures to 135–145°F for 24–48 hours, depending on the system and infestation severity. Nothing survives that environment.
Heat works particularly well for drywood termite infestations, which nest inside framing and don’t require soil contact like subterranean termites. It’s also effective when termites have already penetrated deep into wall cavities or multiple locations, a single treatment addresses the entire structure at once. There’s no chemical residue to worry about, and the treatment is complete in a day or two.
The catch: heat treatment is expensive ($2,500–$6,000+ depending on home size and system used) and disruptive. You must vacate during application, often for 24–72 hours. All food, plants, and temperature-sensitive items (certain electronics, paint, some furnishings) must be removed or protected. Pets need to be relocated. Your HVAC system may be damaged if not properly shut down during heating.
Heat is best reserved for severe, widespread infestations or when other methods have failed. It’s also common in localized treatments of attic spaces infested with drywood termites, where heating a single zone is more practical than whole-home fumigation. Consult with a licensed pest control professional to determine if heat treatment makes sense for your situation.
DIY Treatment Options and When to Use Them
True DIY termite control is limited, and that’s honest truth, not a sales pitch for professionals. Home Depot and Amazon sell termite baits and foaming termiticides, but these are really supplemental tools, not standalone solutions for active infestations.
Over-the-counter bait stations (like Spectracide or Green Light brands) can work for minor problems or early detection, costing $30–$100 per box. Foaming termiticides ($10–$25 per can) inject into walls or accessible galleries to kill local populations. Some homeowners have success using these as follow-up treatments after professional work, or as a preventive measure in known problem areas.
Where DIY falls short: most active termite colonies extend deep into soil or wall cavities you can’t reach. A single bait station won’t access a mature colony. Foams address visible galleries but miss the main nest. Without proper diagnosis (drywood vs. subterranean?) and monitoring, you’re likely just delaying the inevitable and spending more on failed attempts than a professional treatment would have cost upfront.
When DIY makes sense: If you catch drywood termites in a small, localized area (say, a corner of an attic beam) and the infestation is truly minor, localized foaming can buy time before professional help. Bait stations in the yard as a preventive layer, after professional barrier treatment, add an extra insurance policy. Use safety equipment, gloves, eye protection, and a mask when applying any termiticide, and follow all label directions precisely.
For anything beyond these limited scenarios, professionals from trusted home improvement resources are worth the investment. Most offer free inspections and can diagnose severity before recommending (and charging for) treatment.
Choosing the Right Treatment for Your Situation
Picking a treatment method comes down to three factors: infestation type, severity, and your home’s construction.
For subterranean termites in light infestations: A chemical barrier is your go-to. It’s cost-effective, proven, and creates lasting protection. If the infestation is caught very early (say, mud tubes spotted but minimal wood damage), bait stations alone might suffice, but most professionals recommend combining both for peace of mind.
For drywood termite infestations: Heat treatment or localized foam/bait application works best, depending on how widespread the problem is. If termites are confined to one area (attic, garage framing), targeted heat or foam is efficient. If they’re scattered throughout the home, whole-home heat fumigation is more thorough, though expensive.
For preventive treatment (termites spotted but haven’t infested yet, or you’re in a high-risk area): Bait stations or a chemical barrier, or both. Many professionals recommend starting with a barrier and adding stations as a monitoring layer.
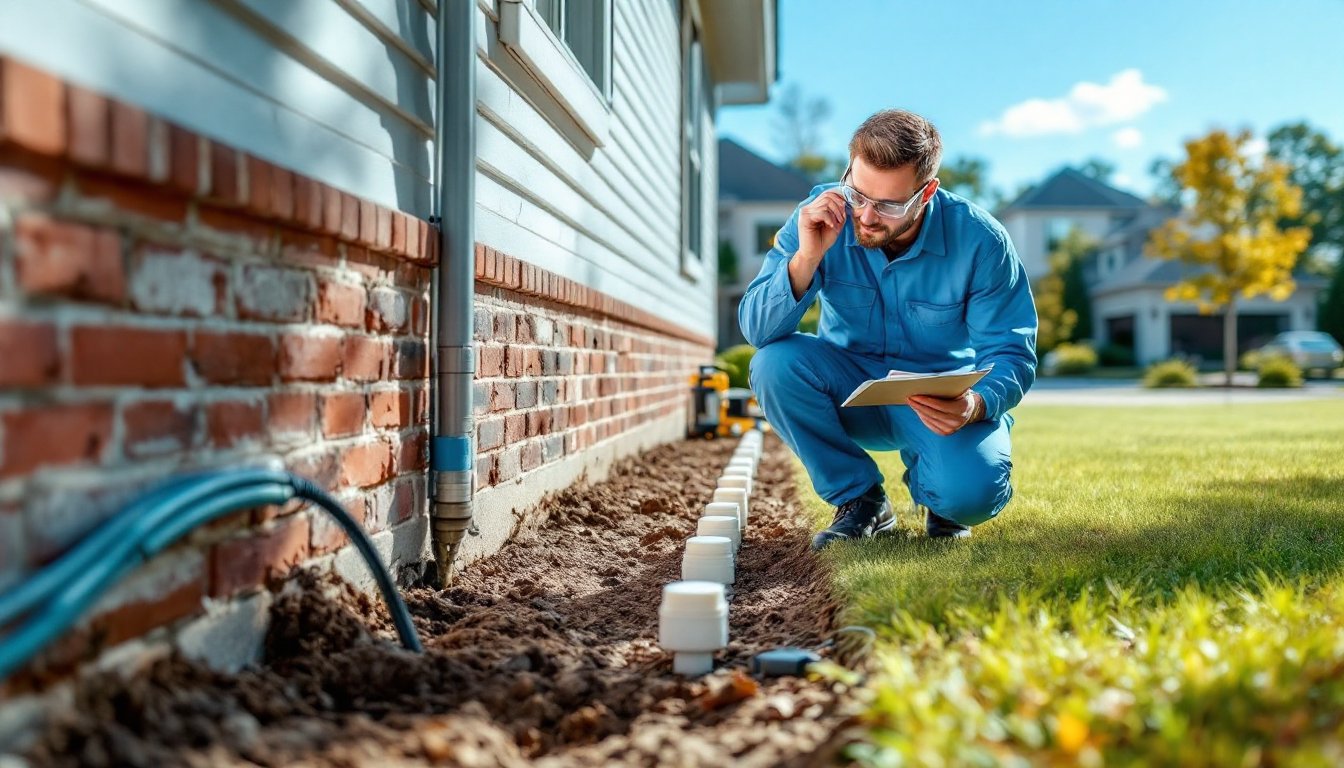
Get a professional inspection first. It costs $100–$300, and a licensed inspector will identify the termite species, locate entry points, assess damage, and recommend the most efficient treatment path. This upfront investment often saves thousands by preventing over-treatment or missing hidden colonies. Check your homeowner’s insurance too, some policies cover termite treatment if damage is deemed a defect in maintenance rather than neglect, though this varies widely.
Finally, don’t skip the follow-up. Whatever treatment you choose, schedule annual or biennial inspections. Early re-infestation detection costs far less to treat than a full reinfestation discovered years later. Professional guidance from home maintenance experts can help you build a sustainable long-term plan.
Conclusion
Termite treatment isn’t a DIY weekend project, it’s an investment in your home’s structural integrity and resale value. Whether you choose a chemical barrier, bait stations, heat treatment, or a combination approach, the key is catching the problem early and trusting licensed professionals to handle the job right. Regular inspections and preventive measures are your best defense against costly damage down the road.